
Введение
Моторы могут ломаться или засоряться со временем, и их необходимо заменять или снимать для чистки. В этом руководстве вы узнаете, как снять двигатель и печатную плату.
Шаг 1 Гибкий шланг с ручкой


Возьмитесь за ручку гибкого шланга и удлинительную палочку.
Потяните прямо, чтобы отсоединить ручку от удлинителя.
Шаг 2

Найдите стопорный зажим на другом конце гибкого шланга.
Шаг 3


Удерживайте зажим, чтобы отсоединить гибкий шланг от пылесоса.
Снимите гибкий шланг с пылесоса.
Шаг 4 Фильтры

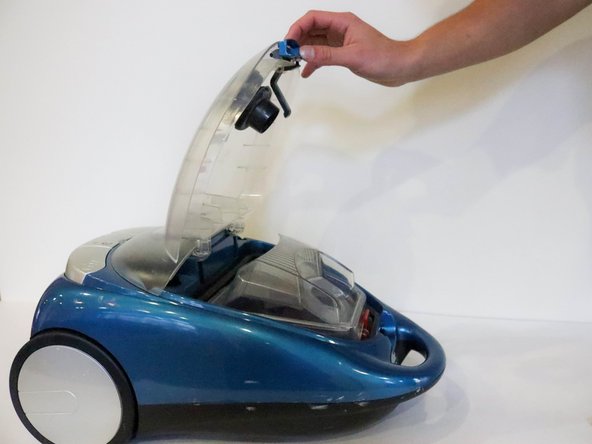
После снятия шланга положите пылесос на спину и отстегните верхний отсек.
Откройте отсек.
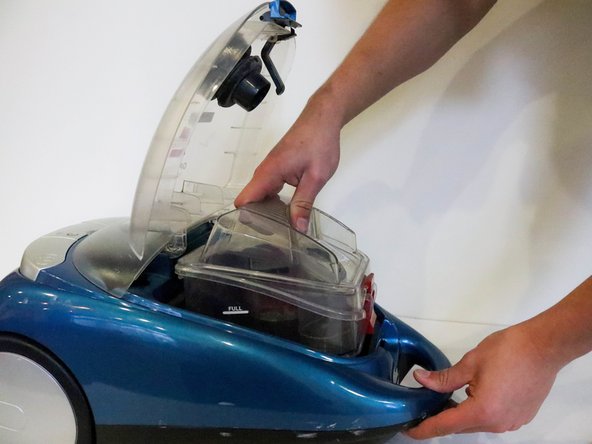
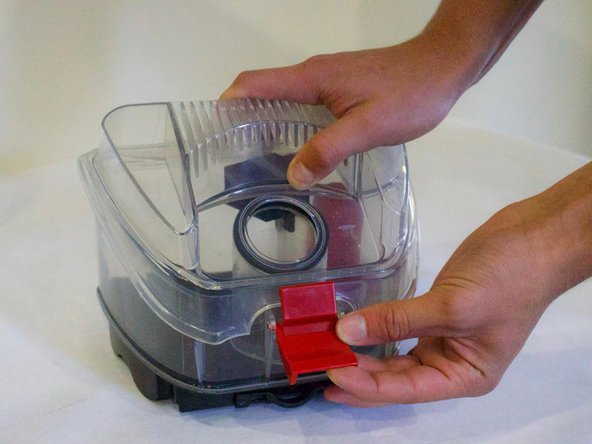
Извлеките из пылесоса коробку для сбора грязи.
Шаг 5


Отложите коробку для сбора грязи в сторону.
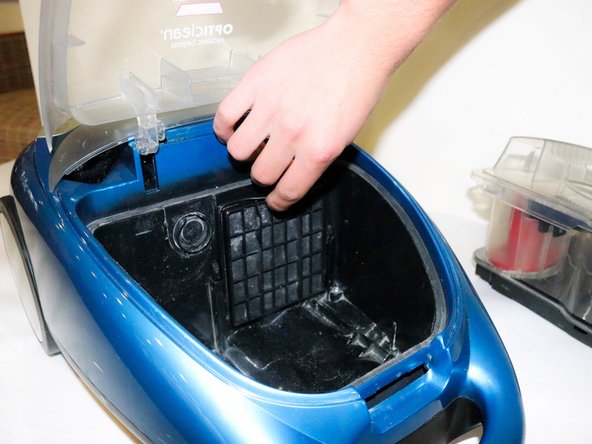
Найдите фильтр предварительной очистки двигателя.
Вытащите фильтр, взявшись за выступ сверху.
Шаг 6

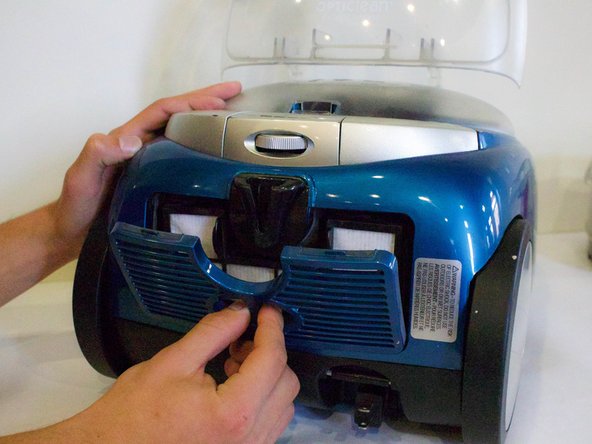

Переверните пылесос и найдите крышку фильтра в нижней части.
Вставьте пальцы в отверстие и снимите крышку фильтра.
Поместите пальцы на каждый выступ на постмоторном фильтре HEPA Media и вытащите его.
Шаг 7


Выньте фильтр для очистки или замены.
Чтобы очистить ящик для сбора грязи, отстегните крышку и снимите ее.
Шаг 8

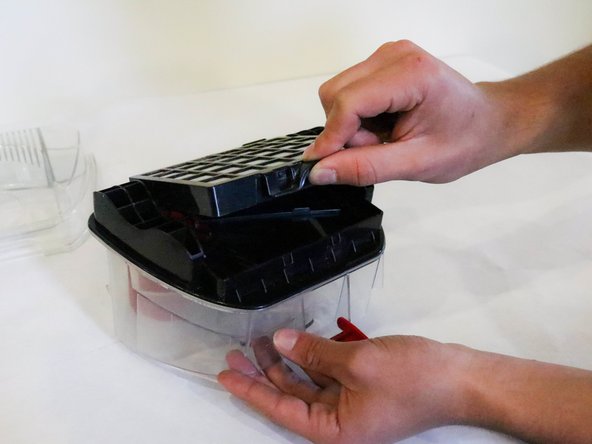

Переверните контейнер для сбора грязи и найдите нажимной язычок.
Поднимите фильтр HEPA Media Dirt Cup вверх, чтобы снять его.
На рисунке 3 показаны все фильтры, извлеченные из пылесоса.
Шаг 9 Двигатель и печатная плата

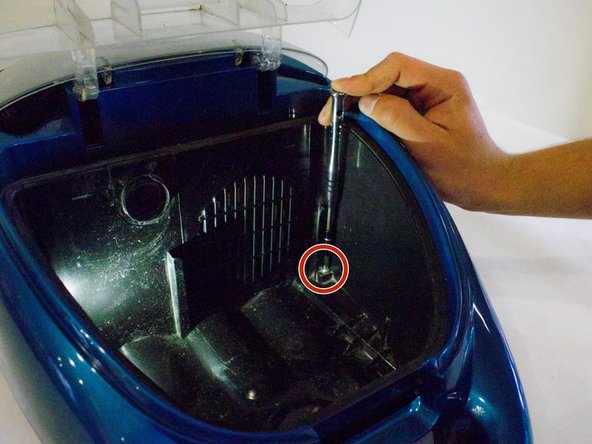
Открутите два винта под коробкой для сбора грязи внутри пылесоса.
Шаг 10

Переверните пылесос.
Шаг 11


Открутите оба винта в нижней части ручки.
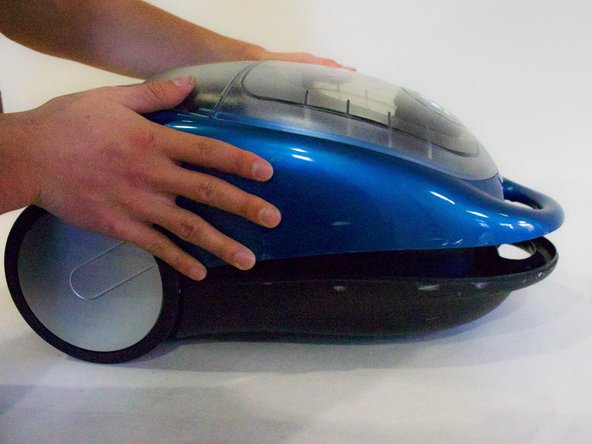
Шаг 12


Открутите оба винта возле колес.
Шаг 13

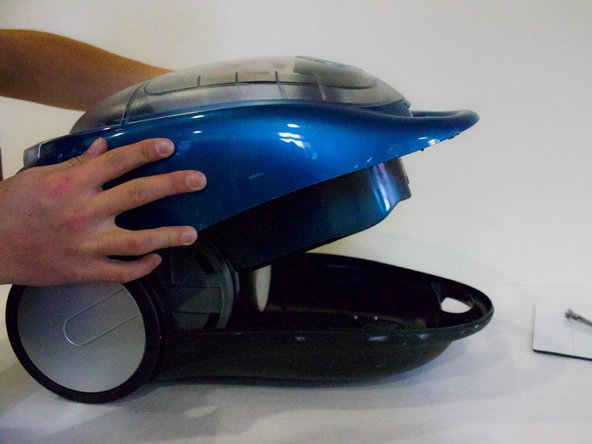
Переверните пылесос.
Аккуратно снимите верхнюю часть.
Не пытайтесь снять ее полностью. К корпусу все еще прикреплены провода.
Шаг 14

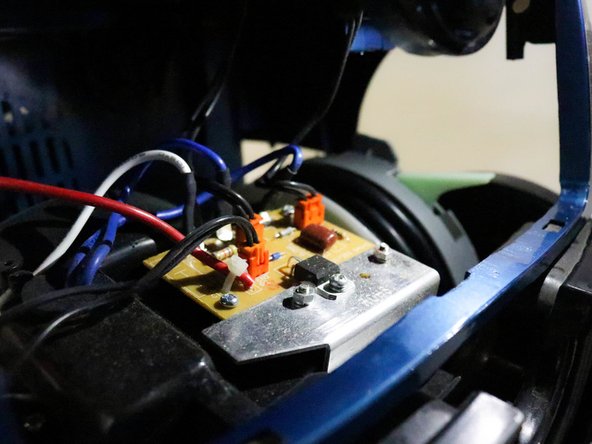
Найдите печатную плату.
Шаг 15


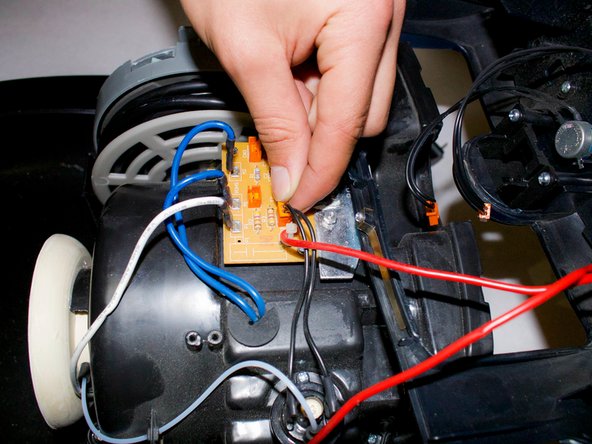
Отсоедините каждый оранжевый штекер.
Убедитесь, что вы запомнили, какой оранжевый штекер куда подключен!
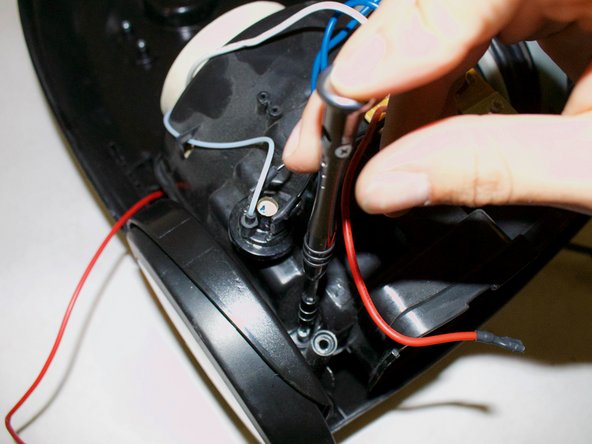
Шаг 16


Отсоедините красные провода. Провода может быть немного сложно снять. Если это так, вы можете использовать плоскогубцы, чтобы отсоединить провода.
Не дергайте провода, так как это может привести к поломке металла, удерживающего их.
Шаг 17

Снимите верхнюю часть.
Шаг 18


Открутите два верхних винта на пылесосе.
Шаг 19

Открутите два задних винта.
Шаг 20

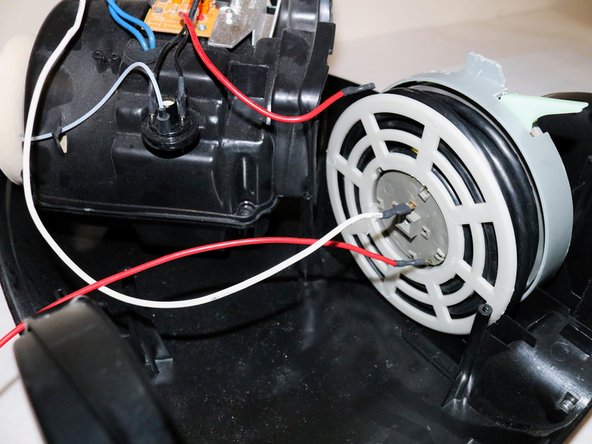

Поднимите двигатель и переместите его, чтобы получить доступ к катушке.
Открутите винт на катушке.
Снимите пластиковый круг.
Шаг 21

Снимите мотор.
И все готово!
