
Введение
Чтобы заменить сломанный дигитайзер или передний экран планшета, выполните следующее руководство.
Шаг 1 Дигитайзер / передний экран


В нижней части планшета открутите два винта диаметром 3,6 мм с помощью отвертки Phillips #000.
Шаг 2


Вставьте пластиковый инструмент для открывания в края планшета, чтобы поддеть его.
Шаг 3

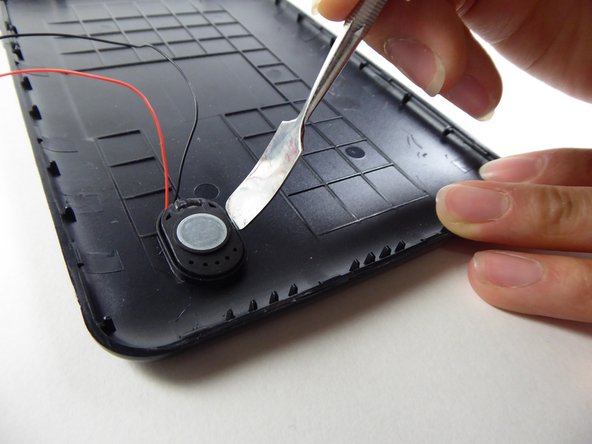
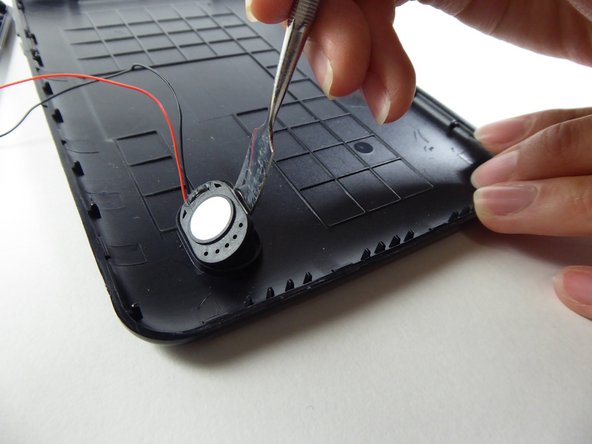
Подденьте динамик изогнутой металлической лопаткой, чтобы извлечь его.
Динамик держится на месте с помощью клея, и его может быть трудно снять.
Шаг 4

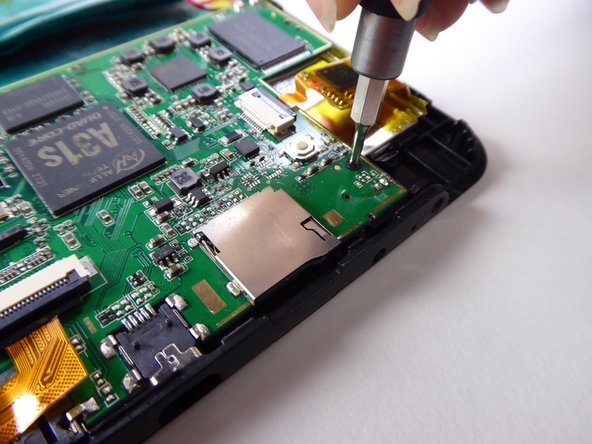
С помощью отвертки Phillips #000 открутите два винта диаметром 3,6 мм.
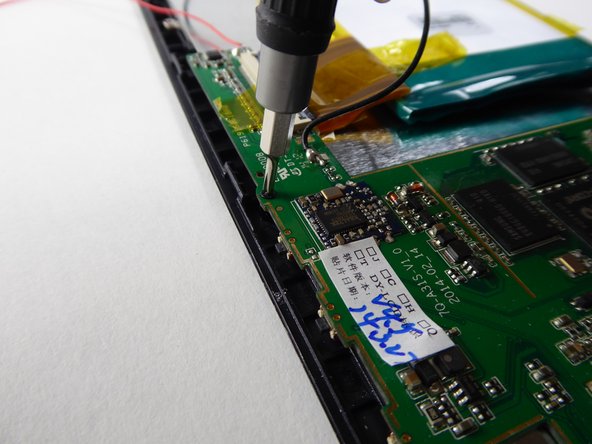
Шаг 5


С помощью инструмента для открывания пластика подденьте черный выступ.
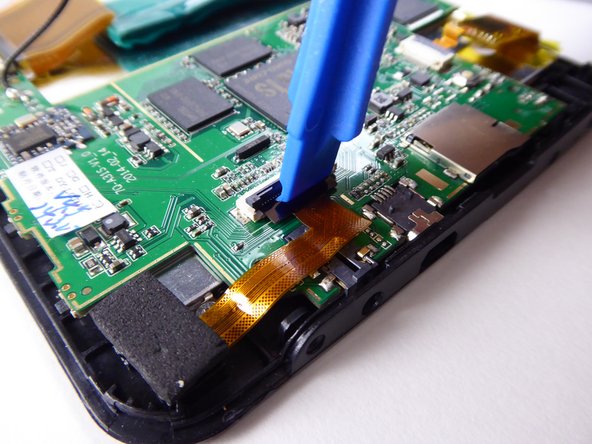
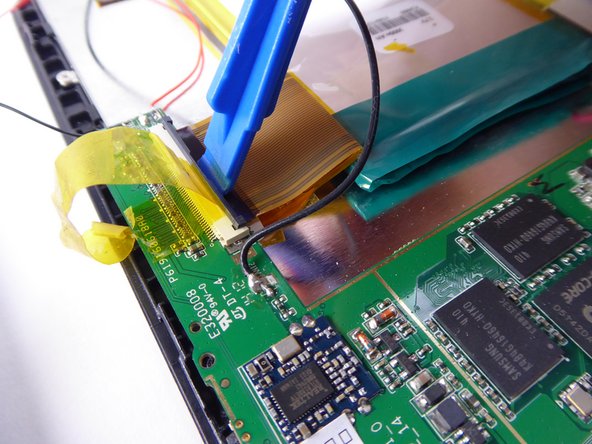
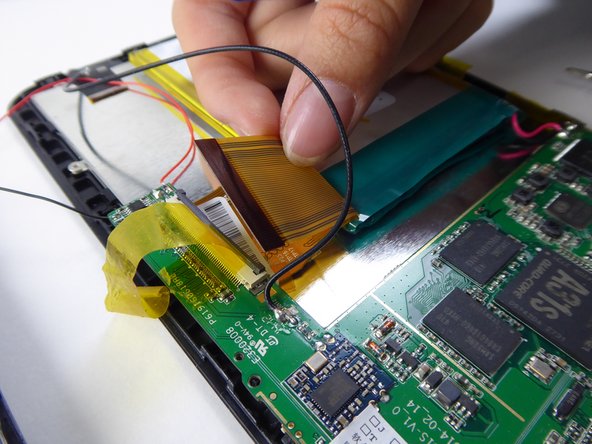
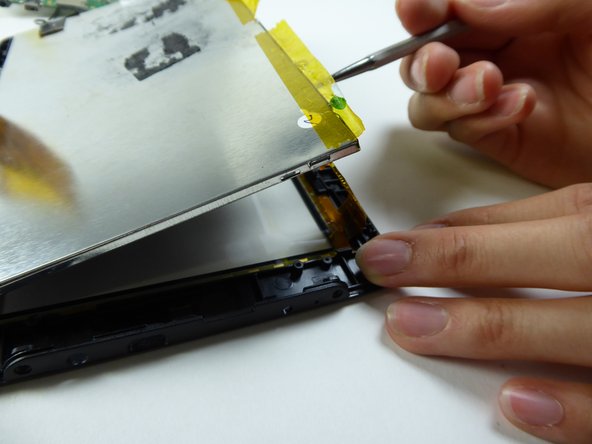
Шаг 6

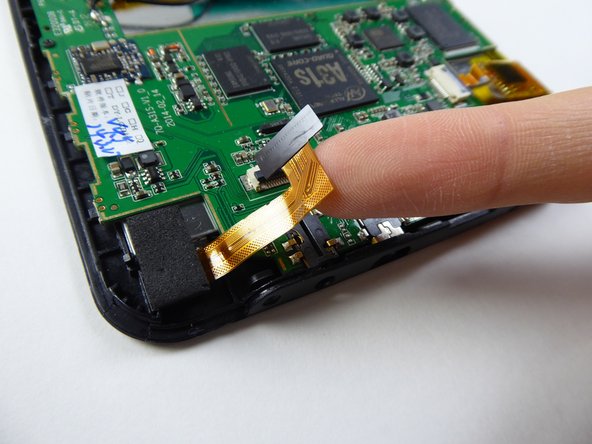
Осторожно поднимите и снимите ленточный кабель с черного язычка.
Шаг 7

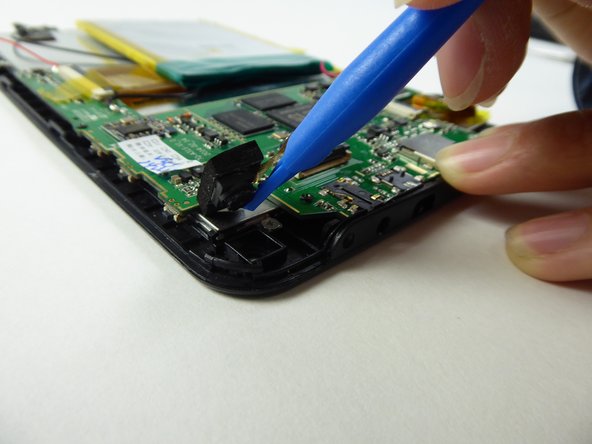
С помощью пластикового инструмента для открывания извлеките камеру.
Шаг 8

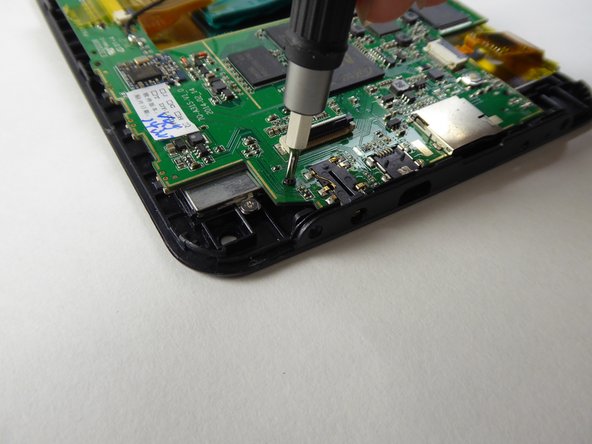
С помощью крестообразной отвертки #000 выкрутите винт 3,6 мм.
Шаг 9


Поднимите ленту, удерживающую аккумулятор.
Шаг 10
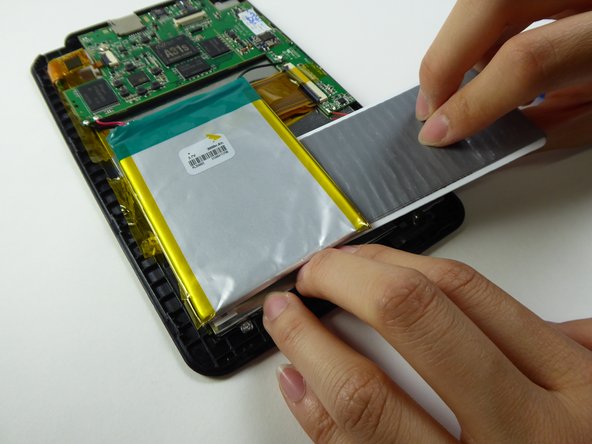
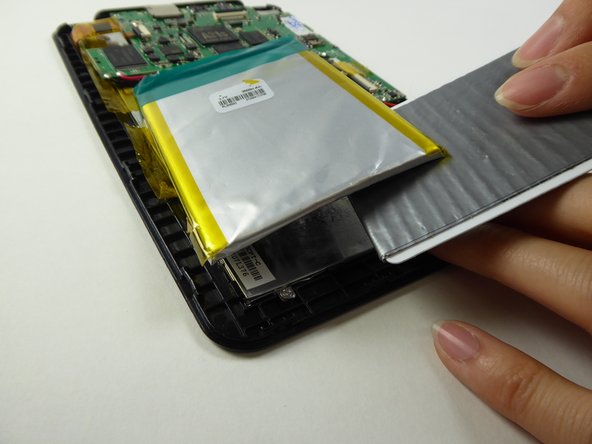
Подложите пластиковую карту под батарею, чтобы извлечь ее.
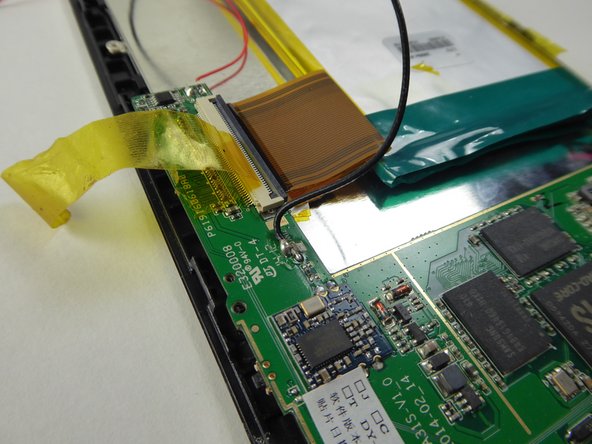
Шаг 11

С помощью инструмента для открывания пластика подденьте черный выступ.
Шаг 12

Осторожно поднимите и снимите ленточный кабель с черного язычка.
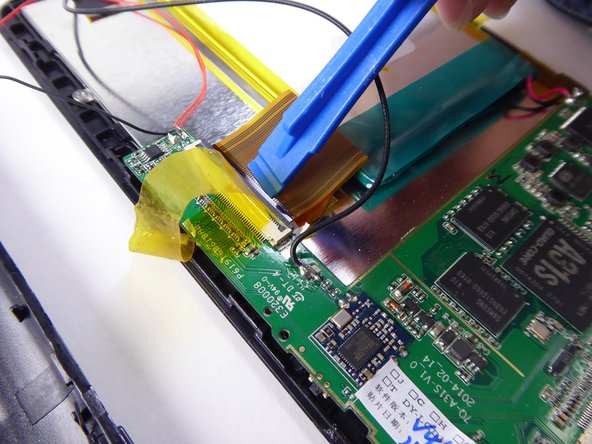
Шаг 13

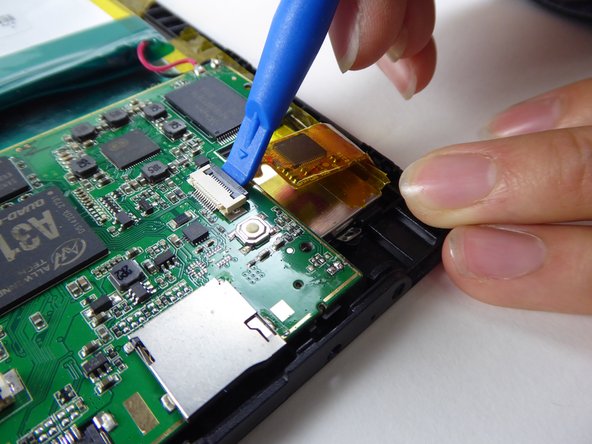
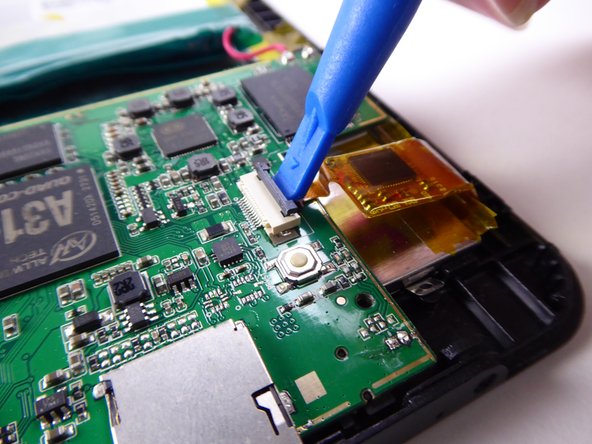
С помощью инструмента для открывания пластика подденьте черный выступ.
Шаг 14

Безопасно извлеките батарею и материнскую плату из планшета.
Шаг 15

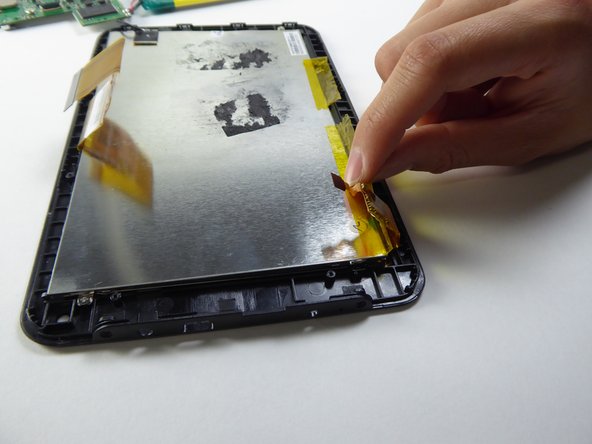
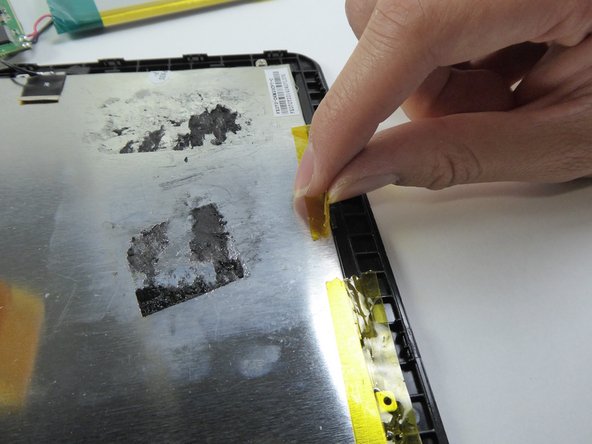
Поднимите пленку по бокам.
Шаг 16


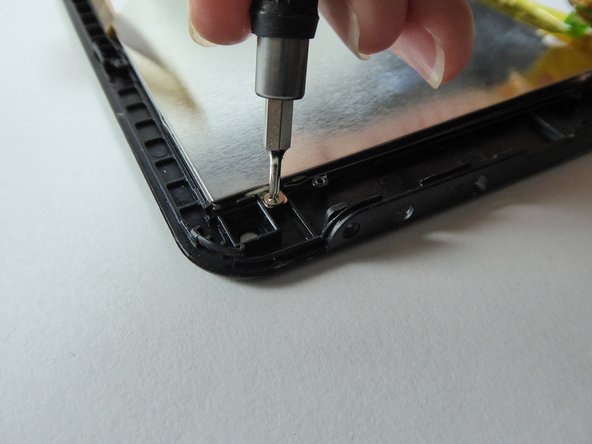
С помощью отвертки Phillips #000 открутите три винта диаметром 2,5 мм.
Шаг 17

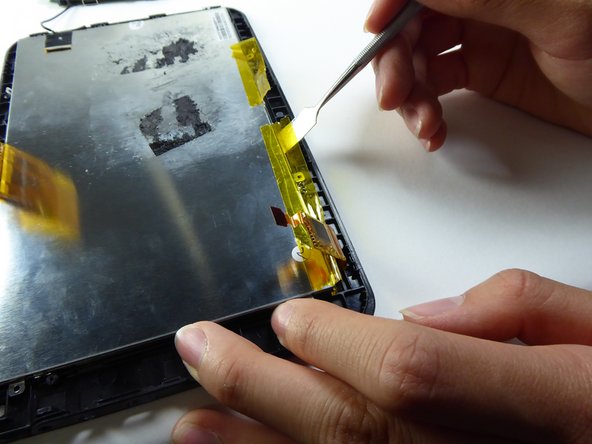
Подденьте ЖК-экран металлической лопаткой, чтобы снять его.
Шаг 18

Замените передний экран, чтобы установить дигитайзер.
