No Image

Разборка Sony Xperia Z4

64 просмотров
17 декабря 2023

Шаг 1 Разборка Sony Xperia Z4

Sony Xperia Z4 Teardown, Sony Xperia Z4 Teardown: step 1, image 1 of 2Sony Xperia Z4 Teardown, Sony Xperia Z4 Teardown: step 1, image 2 of 2

Снимите заднюю крышку.

Шаг 2

Sony Xperia Z4 Teardown: step 2, image 1 of 3Sony Xperia Z4 Teardown: step 2, image 2 of 3Sony Xperia Z4 Teardown: step 2, image 3 of 3

Извлеките аккумулятор.

Шаг 3

Sony Xperia Z4 Teardown: step 3, image 1 of 2Sony Xperia Z4 Teardown: step 3, image 2 of 2

Освободите все разъемы на плате и открутите винты.

Шаг 4

Sony Xperia Z4 Teardown: step 4, image 1 of 2Sony Xperia Z4 Teardown: step 4, image 2 of 2

Снимите небольшой крепежный кронштейн.

Шаг 5

Sony Xperia Z4 Teardown: step 5, image 1 of 3Sony Xperia Z4 Teardown: step 5, image 2 of 3Sony Xperia Z4 Teardown: step 5, image 3 of 3

Снимите заднюю и переднюю камеры.

Шаг 6

Sony Xperia Z4 Teardown: step 6, image 1 of 2Sony Xperia Z4 Teardown: step 6, image 2 of 2

Извлеките материнскую плату.

Шаг 7
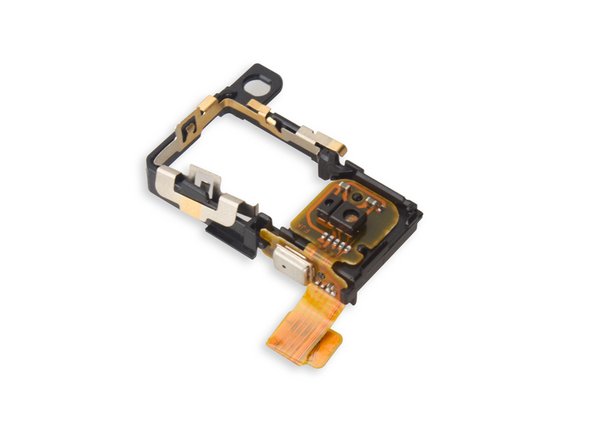
Sony Xperia Z4 Teardown: step 7, image 1 of 3Sony Xperia Z4 Teardown: step 7, image 2 of 3Sony Xperia Z4 Teardown: step 7, image 3 of 3

Извлеките гибкий датчик.

Шаг 8

Sony Xperia Z4 Teardown: step 8, image 1 of 3Sony Xperia Z4 Teardown: step 8, image 2 of 3Sony Xperia Z4 Teardown: step 8, image 3 of 3

Снимите две части кронштейнов крышки аудиоразъема.

Шаг 9

Sony Xperia Z4 Teardown: step 9, image 1 of 2Sony Xperia Z4 Teardown: step 9, image 2 of 2

Разрежьте клей на верхней части аудиоразъема и снимите аудиоразъем в сборе.

Шаг 10

Sony Xperia Z4 Teardown: step 10, image 1 of 1

Отсоедините сигнальный кабель.

Шаг 11

Sony Xperia Z4 Teardown: step 11, image 1 of 3Sony Xperia Z4 Teardown: step 11, image 2 of 3Sony Xperia Z4 Teardown: step 11, image 3 of 3

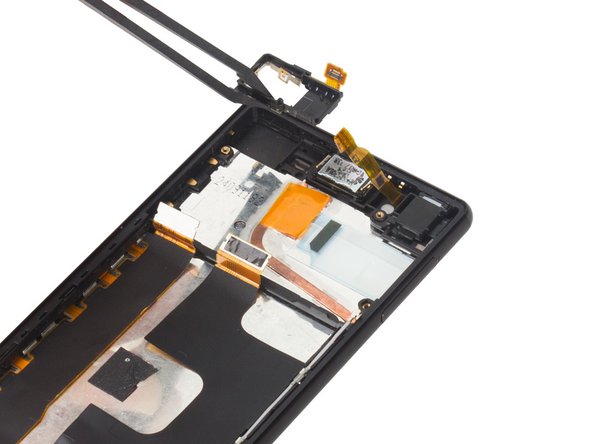
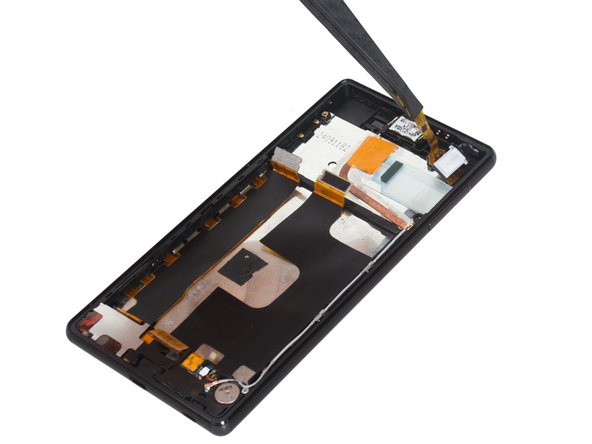
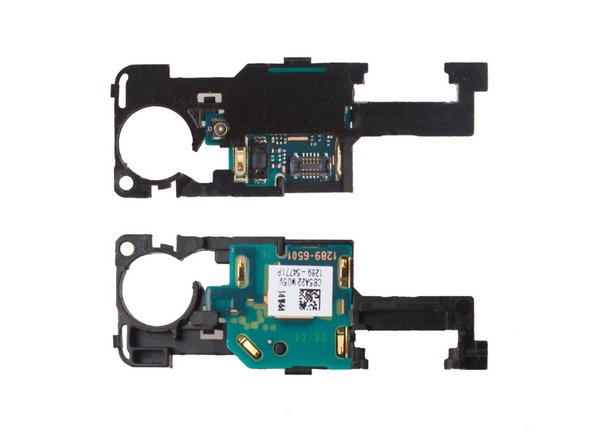
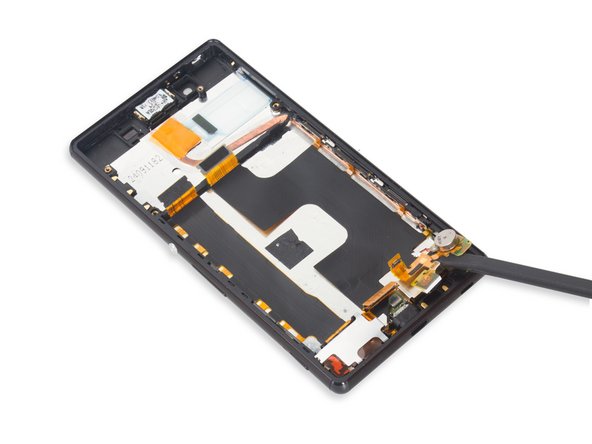
Освободите разъемы, соединяющие логическую плату антенны, и снимите ее.

Шаг 12

Sony Xperia Z4 Teardown: step 12, image 1 of 2Sony Xperia Z4 Teardown: step 12, image 2 of 2

Отсоедините разъем ЖК-дисплея и ослабьте нижнюю часть всего флекса.

Шаг 13

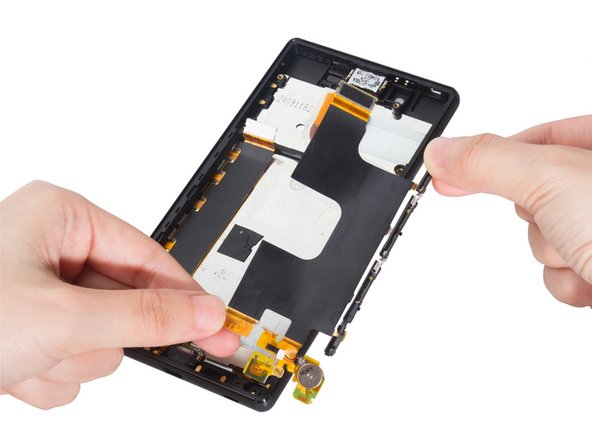
Sony Xperia Z4 Teardown: step 13, image 1 of 3Sony Xperia Z4 Teardown: step 13, image 2 of 3Sony Xperia Z4 Teardown: step 13, image 3 of 3

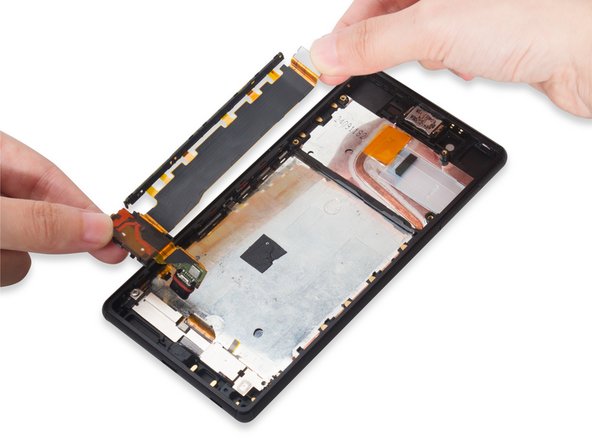
Снимите основной флекс.

Шаг 14

Sony Xperia Z4 Teardown: step 14, image 1 of 2Sony Xperia Z4 Teardown: step 14, image 2 of 2

Снимите кронштейн крепления громкоговорителя.

Шаг 15

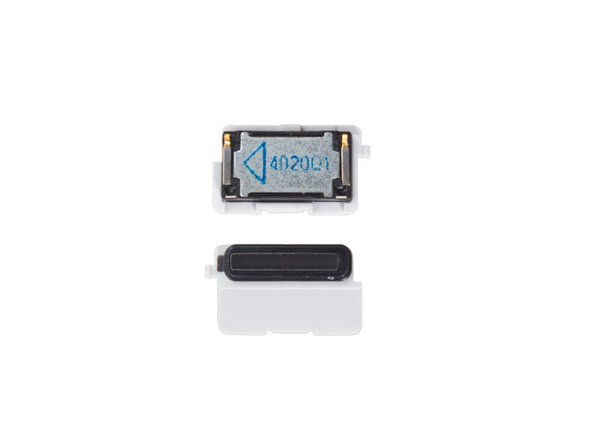
Sony Xperia Z4 Teardown: step 15, image 1 of 2Sony Xperia Z4 Teardown: step 15, image 2 of 2

Извлеките громкоговоритель, спрятанный под флексом.

Шаг 16

Sony Xperia Z4 Teardown: step 16, image 1 of 2Sony Xperia Z4 Teardown: step 16, image 2 of 2

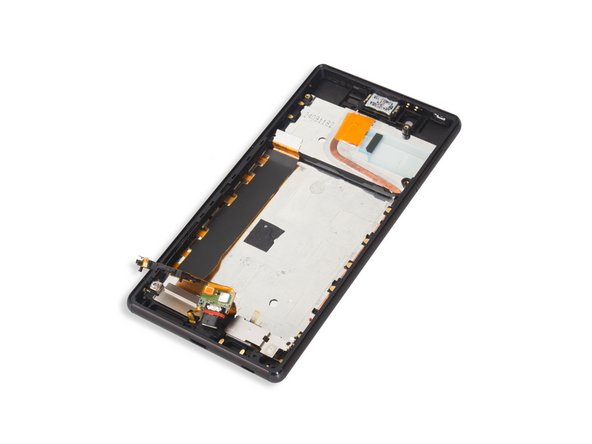
Выдвиньте USB-порт из гнезда.

Шаг 17

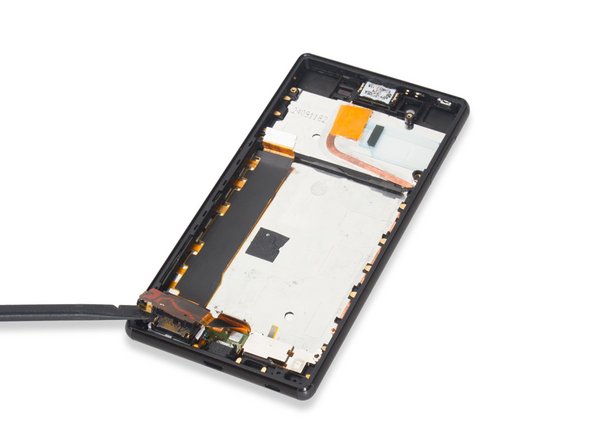
Sony Xperia Z4 Teardown: step 17, image 1 of 2Sony Xperia Z4 Teardown: step 17, image 2 of 2

Извлеките гибкий узел USB-зарядки.

Шаг 18

Sony Xperia Z4 Teardown: step 18, image 1 of 2Sony Xperia Z4 Teardown: step 18, image 2 of 2

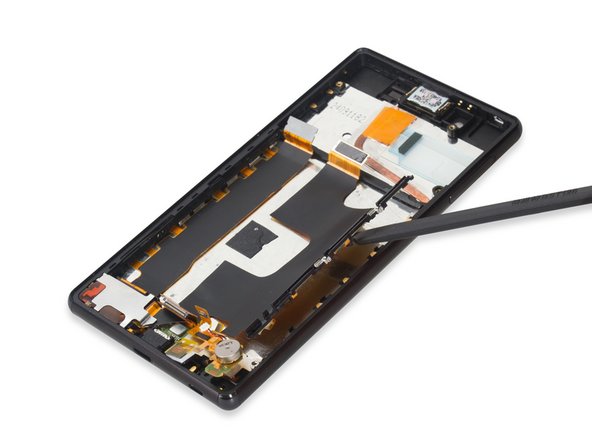
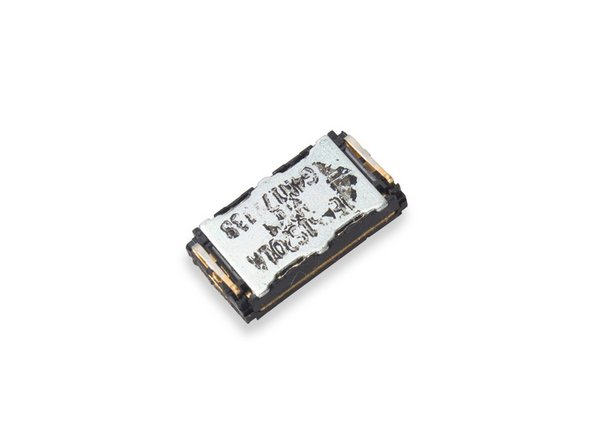
Извлеките динамик наушника.

Шаг 19

Sony Xperia Z4 Teardown: step 19, image 1 of 2Sony Xperia Z4 Teardown: step 19, image 2 of 2

Снимите металлическую скобу, закрывающую флекс экрана.

Шаг 20

Sony Xperia Z4 Teardown: step 20, image 1 of 3Sony Xperia Z4 Teardown: step 20, image 2 of 3Sony Xperia Z4 Teardown: step 20, image 3 of 3

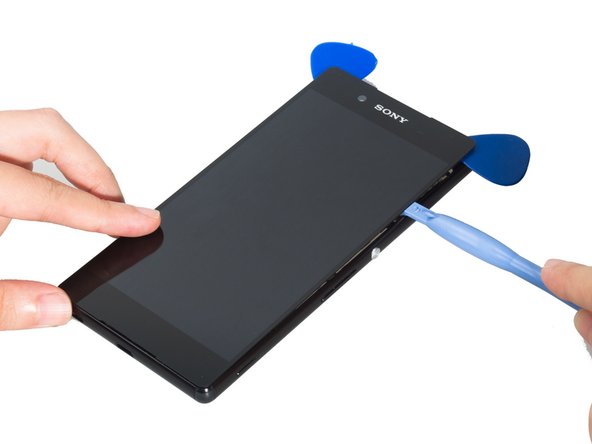
Осторожно снимите ЖК-экран.

Шаг 21

Sony Xperia Z4 Teardown: step 21, image 1 of 1

Готово.

Комментировать
64 просмотров
Комментариев нет, будьте первым кто его оставит

Это интересно
No Image Гайды
0 комментариев
No Image Гайды
0 комментариев
No Image Гайды
0 комментариев