No Image

почему! Замена ЖК-экрана W650SZ

75 просмотров
10 декабря 2023

Шаг 1 Батарея

why! W650SZ LCD Screen Replacement, Battery: step 1, image 1 of 3why! W650SZ LCD Screen Replacement, Battery: step 1, image 2 of 3why! W650SZ LCD Screen Replacement, Battery: step 1, image 3 of 3

Сдвиньте защелку справа в разблокированное положение.

Передвиньте защелку слева в разблокированное положение.

Извлеките аккумулятор из гнезда.

Шаг 2 Снимите рамку

why! W650SZ LCD Screen Replacement, Remove the Bezel: step 2, image 1 of 3why! W650SZ LCD Screen Replacement, Remove the Bezel: step 2, image 2 of 3why! W650SZ LCD Screen Replacement, Remove the Bezel: step 2, image 3 of 3

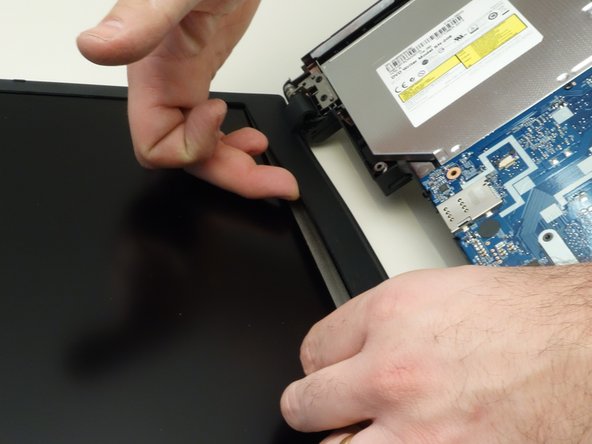
Хотя на фотографиях изображен ноутбук без клавиатуры, для замены экрана снимать клавиатуру не обязательно.

Аккуратно вставьте ноготь между рамкой дисплея и ЖК-дисплеем.

Шаг 3 Снятие ободка (продолжение)

why! W650SZ LCD Screen Replacement, Remove the Bezel (continued): step 3, image 1 of 3why! W650SZ LCD Screen Replacement, Remove the Bezel (continued): step 3, image 2 of 3why! W650SZ LCD Screen Replacement, Remove the Bezel (continued): step 3, image 3 of 3

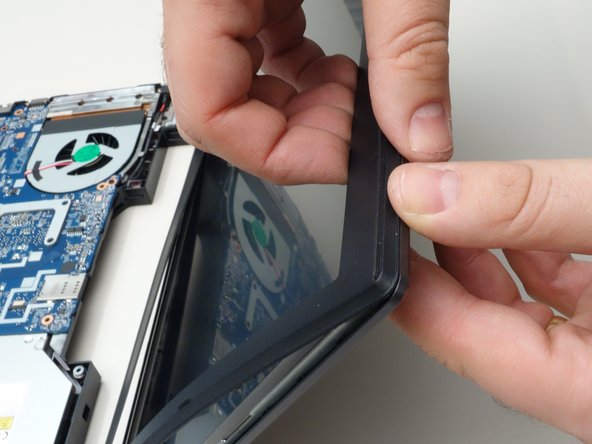
Продвигаясь по рамке, отсоедините точки крепления рамки вокруг ЖК-экрана.

Шаг 4 Снятие ободка (продолжение)

why! W650SZ LCD Screen Replacement, Remove the Bezel (continued): step 4, image 1 of 3why! W650SZ LCD Screen Replacement, Remove the Bezel (continued): step 4, image 2 of 3why! W650SZ LCD Screen Replacement, Remove the Bezel (continued): step 4, image 3 of 3

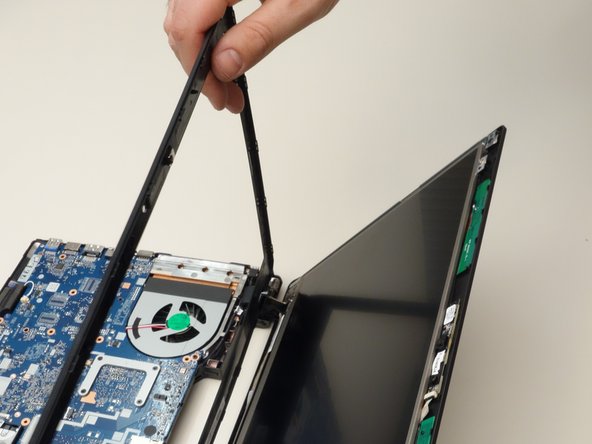
Снимите рамку, окружающую ЖК-дисплей.

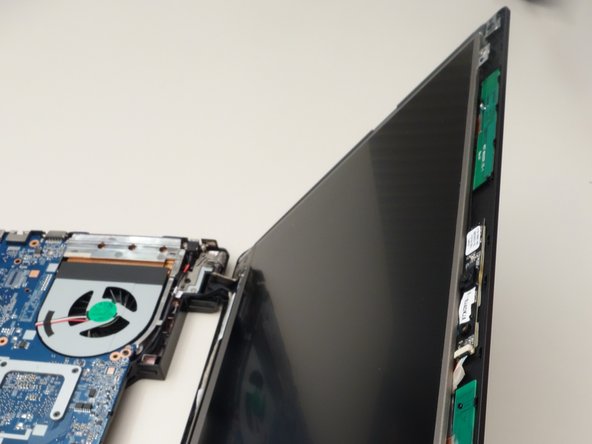
Шаг 5 Открутите винты, крепящие ЖК-дисплей

why! W650SZ LCD Screen Replacement, Remove the Screws Securing the LCD: step 5, image 1 of 3why! W650SZ LCD Screen Replacement, Remove the Screws Securing the LCD: step 5, image 2 of 3why! W650SZ LCD Screen Replacement, Remove the Screws Securing the LCD: step 5, image 3 of 3

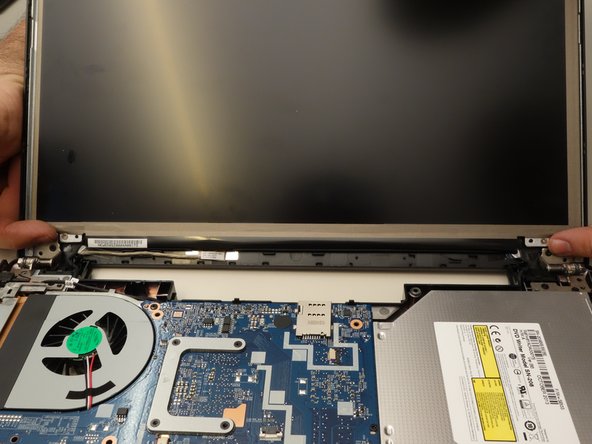
Выкрутите два верхних крепежных винта, крепящих ЖК-дисплей к крышке.

Выкрутите два нижних крепежных винта.

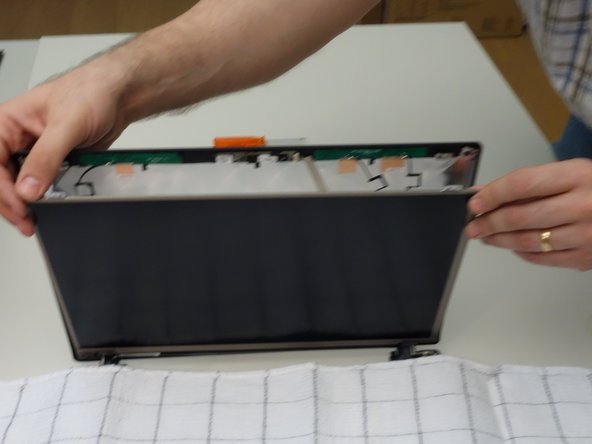
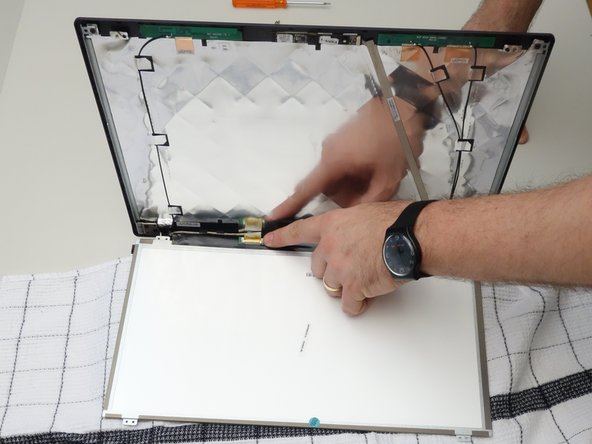
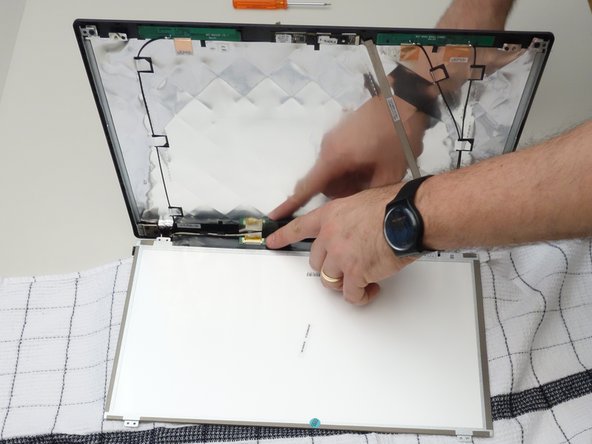
Шаг 6 Отделите ЖК-дисплей от дисплея

why! W650SZ LCD Screen Replacement, Separate the LCD from the Display: step 6, image 1 of 3why! W650SZ LCD Screen Replacement, Separate the LCD from the Display: step 6, image 2 of 3why! W650SZ LCD Screen Replacement, Separate the LCD from the Display: step 6, image 3 of 3

Накройте клавиатуру тканью, затем осторожно опустите ЖК-дисплей на клавиатуру.

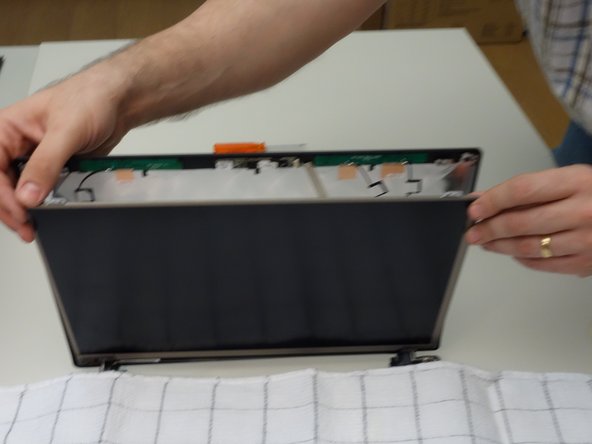
Шаг 7 Отсоедините кабель ЖК-дисплея

why! W650SZ LCD Screen Replacement, Disconnect the LCD Cable: step 7, image 1 of 3why! W650SZ LCD Screen Replacement, Disconnect the LCD Cable: step 7, image 2 of 3why! W650SZ LCD Screen Replacement, Disconnect the LCD Cable: step 7, image 3 of 3

Обратите внимание на расположение разъема ЖК-экрана.

Шаг 8 Удалите ленту разъема

why! W650SZ LCD Screen Replacement, Remove the Connector Tape: step 8, image 1 of 3why! W650SZ LCD Screen Replacement, Remove the Connector Tape: step 8, image 2 of 3why! W650SZ LCD Screen Replacement, Remove the Connector Tape: step 8, image 3 of 3

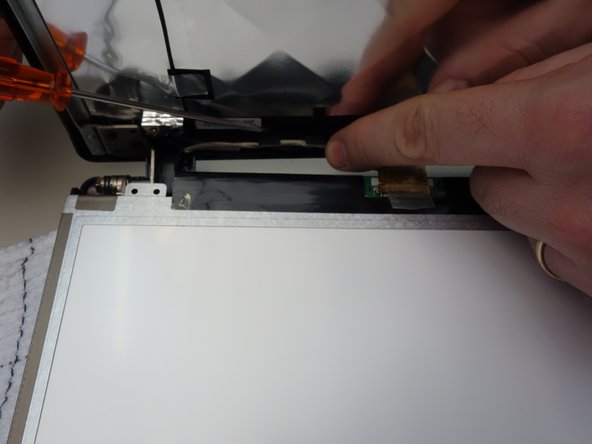
С помощью пластикового язычка отклейте ленту, крепящую кабель ЖК-дисплея к разъему панели.

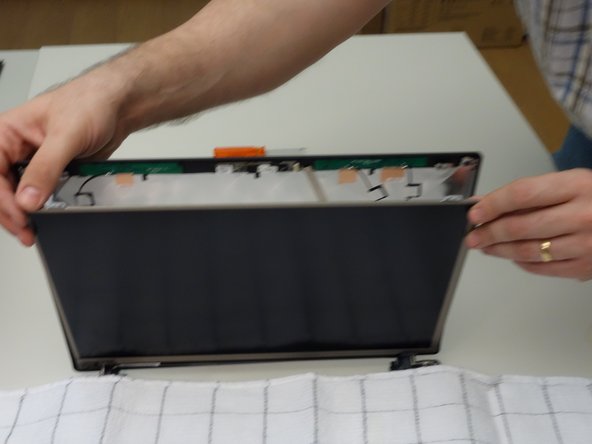
Шаг 9 Отсоедините ЖК-дисплей и снимите экран
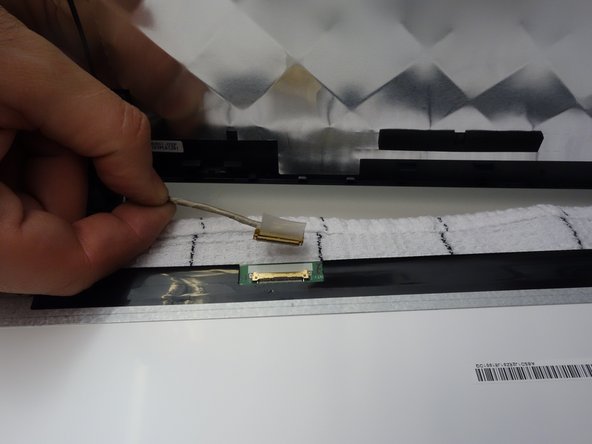
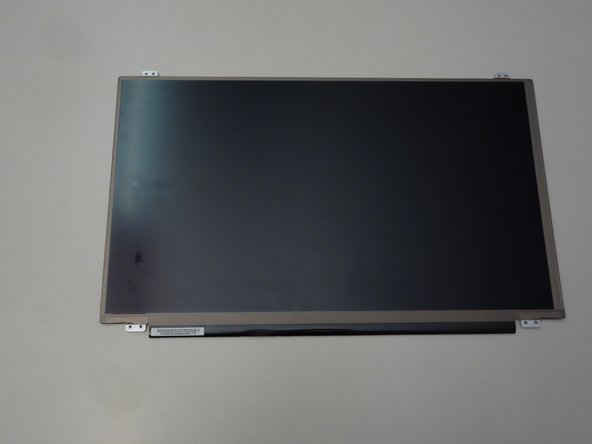
why! W650SZ LCD Screen Replacement, Unplug the LCD and Remove the Screen: step 9, image 1 of 3why! W650SZ LCD Screen Replacement, Unplug the LCD and Remove the Screen: step 9, image 2 of 3why! W650SZ LCD Screen Replacement, Unplug the LCD and Remove the Screen: step 9, image 3 of 3

Отсоедините разъем.

Теперь можно снять ЖК-экран.

Комментировать
75 просмотров
Комментариев нет, будьте первым кто его оставит

Это интересно
No Image Гайды
0 комментариев
No Image Гайды
0 комментариев
No Image Гайды
0 комментариев