No Image

Замена шнура питания парового утюга ASDA ES177

54 просмотров
12 декабря 2023

Шаг 1 Разборка

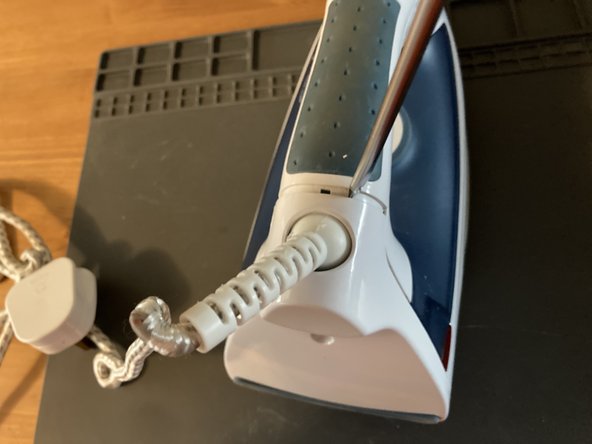
ASDA ES177 Steam Iron Power cord Replacement, Disassembly: step 1, image 1 of 3ASDA ES177 Steam Iron Power cord Replacement, Disassembly: step 1, image 2 of 3ASDA ES177 Steam Iron Power cord Replacement, Disassembly: step 1, image 3 of 3

Выкрутите винт безопасности из задней панели.

При разборке будьте осторожны с остаточным зарядом.

Шаг 2 Снимите заднюю панель

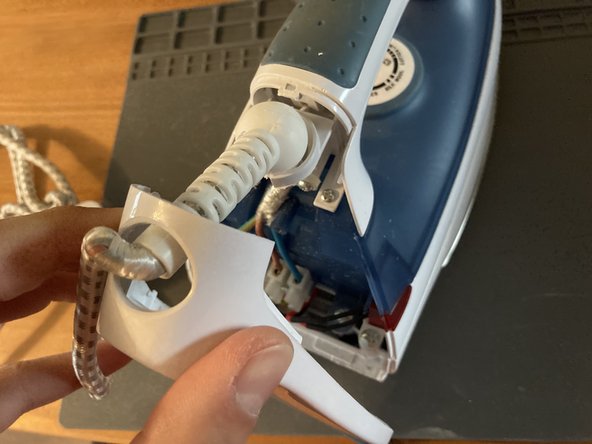
ASDA ES177 Steam Iron Power cord Replacement, Remove the back plate: step 2, image 1 of 3ASDA ES177 Steam Iron Power cord Replacement, Remove the back plate: step 2, image 2 of 3ASDA ES177 Steam Iron Power cord Replacement, Remove the back plate: step 2, image 3 of 3

Подденьте заднюю панель плоской отверткой.

Шаг 3 Извлеките шнур из держателя

ASDA ES177 Steam Iron Power cord Replacement, Remove the cord from the holder: step 3, image 1 of 3ASDA ES177 Steam Iron Power cord Replacement, Remove the cord from the holder: step 3, image 2 of 3ASDA ES177 Steam Iron Power cord Replacement, Remove the cord from the holder: step 3, image 3 of 3

Снимите фиксирующий зажим, открутив два винта Phillips.

Шаг 4 Освободите шнур от разъема

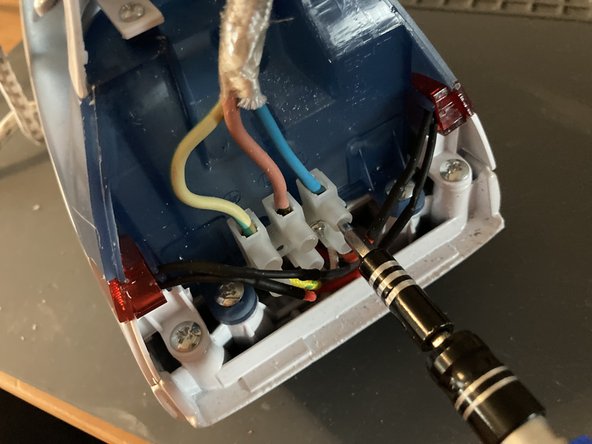
ASDA ES177 Steam Iron Power cord Replacement, Release the cord from the connector: step 4, image 1 of 3ASDA ES177 Steam Iron Power cord Replacement, Release the cord from the connector: step 4, image 2 of 3ASDA ES177 Steam Iron Power cord Replacement, Release the cord from the connector: step 4, image 3 of 3

Выкрутите три винта с плоской головкой из разъема.

Шаг 5 Извлеките штекер

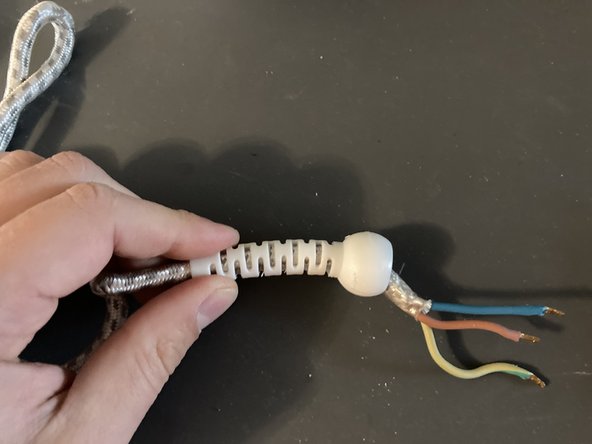
ASDA ES177 Steam Iron Power cord Replacement, Remove the plug: step 5, image 1 of 3ASDA ES177 Steam Iron Power cord Replacement, Remove the plug: step 5, image 2 of 3ASDA ES177 Steam Iron Power cord Replacement, Remove the plug: step 5, image 3 of 3

Открутите основной винт, чтобы открыть трехжильный кабель.

Выкрутите два винта, удерживающие шнур в разъеме.

Шаг 6 Снимите опору ротатора

ASDA ES177 Steam Iron Power cord Replacement, Remove the rotator support: step 6, image 1 of 1

Снимите направляющую ротатора.

Комментировать
54 просмотров
Комментариев нет, будьте первым кто его оставит

Это интересно
No Image Гайды
0 комментариев
No Image Гайды
0 комментариев
No Image Гайды
0 комментариев