No Image

Замена колес Spin Master Hatchimal Draggle

87 просмотров
07 декабря 2023

Введение

Иногда неаккуратная игра может привести к тому, что колесо сломается или перестанет вращаться. В этом руководстве вы узнаете, как снять колесо.

Шаг 1 Замена пластикового крыла

Spin Master Hatchimal Draggle Wheels Replacement, Plastic Wing Replacement: step 1, image 1 of 1

Положите хетчимал на бок.

Шаг 2

Spin Master Hatchimal Draggle Wheels Replacement: step 2, image 1 of 1

Используя инструмент для открытия пластика, надавите на фиолетовый зажим.

Шаг 3

Spin Master Hatchimal Draggle Wheels Replacement: step 3, image 1 of 1

Потяните крыло с хетчимала.

Крыло должно сниматься без особого сопротивления.

Шаг 4 Замена меха

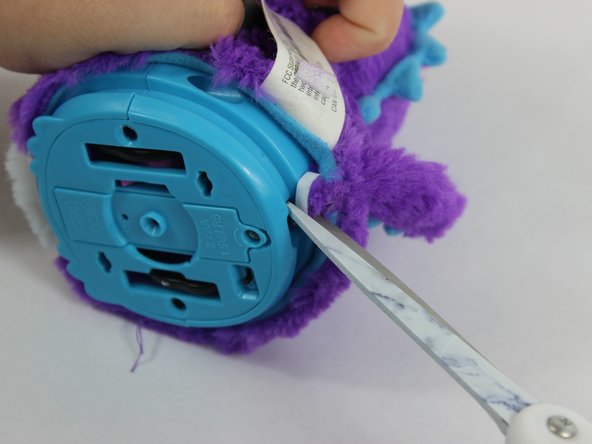
Spin Master Hatchimal Draggle Wheels Replacement, Fur Replacement: step 4, image 1 of 2Spin Master Hatchimal Draggle Wheels Replacement, Fur Replacement: step 4, image 2 of 2

Ножницами разрежьте застежку-молнию, удерживающую мех.

Шаг 5

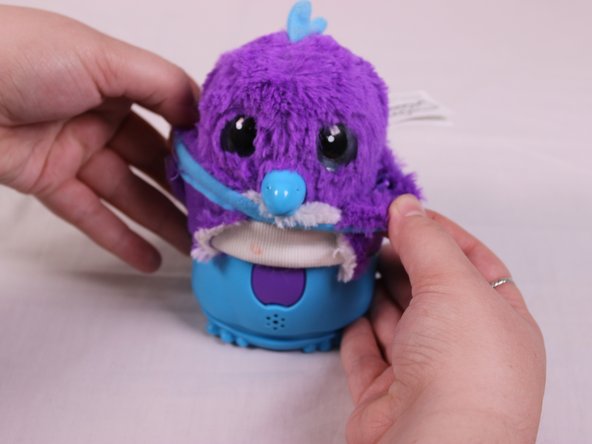
Spin Master Hatchimal Draggle Wheels Replacement: step 5, image 1 of 2Spin Master Hatchimal Draggle Wheels Replacement: step 5, image 2 of 2

Поднимите мех вверх, пока он не сможет двигаться дальше.

Шаг 6

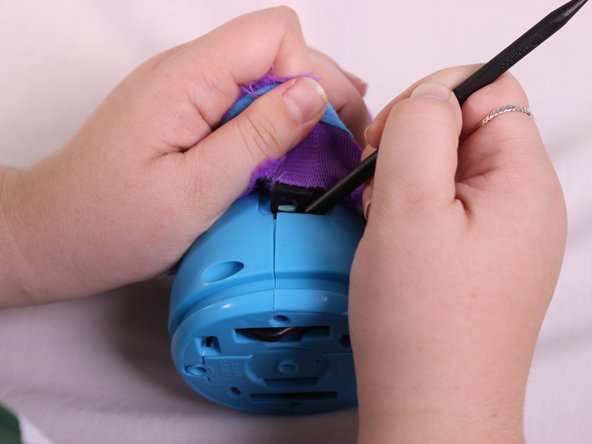
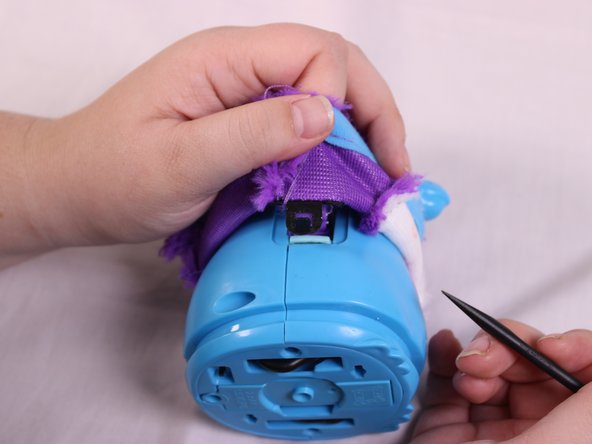
Spin Master Hatchimal Draggle Wheels Replacement: step 6, image 1 of 3Spin Master Hatchimal Draggle Wheels Replacement: step 6, image 2 of 3Spin Master Hatchimal Draggle Wheels Replacement: step 6, image 3 of 3

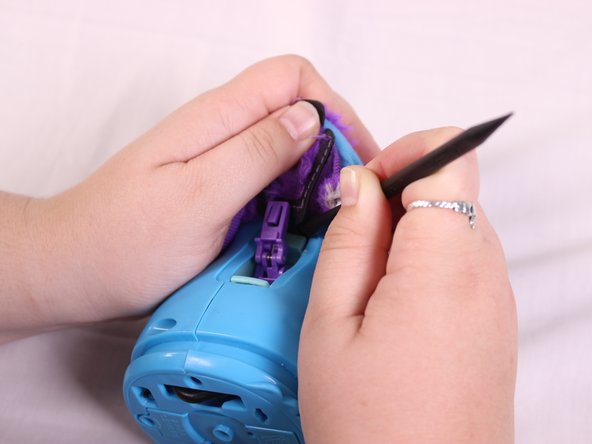
С помощью инструмента Spudger надавите на черный зажим, чтобы освободить его.

Потяните зажим наружу.

Шаг 7

Spin Master Hatchimal Draggle Wheels Replacement: step 7, image 1 of 3Spin Master Hatchimal Draggle Wheels Replacement: step 7, image 2 of 3Spin Master Hatchimal Draggle Wheels Replacement: step 7, image 3 of 3

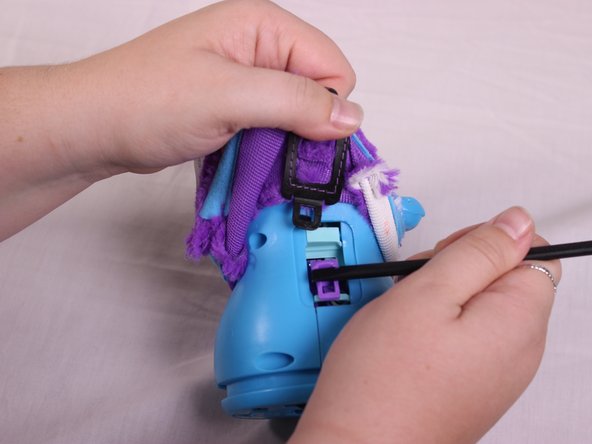
Приподнимите мех, чтобы открыть следующий набор зажимов.

Вставьте инструмент Spudger, чтобы надавить на черную клипсу, чтобы освободить ее.

Вытащите клипсу.

Шаг 8

Spin Master Hatchimal Draggle Wheels Replacement: step 8, image 1 of 2Spin Master Hatchimal Draggle Wheels Replacement: step 8, image 2 of 2

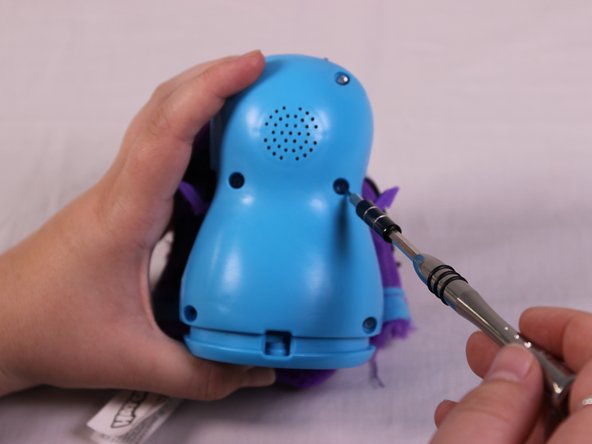
Поднимите мех вверх и над головой Hatchimals.

Выкрутите шесть 12-миллиметровых винтов Phillips #00 из корпуса.

Шаг 9

Spin Master Hatchimal Draggle Wheels Replacement: step 9, image 1 of 2Spin Master Hatchimal Draggle Wheels Replacement: step 9, image 2 of 2

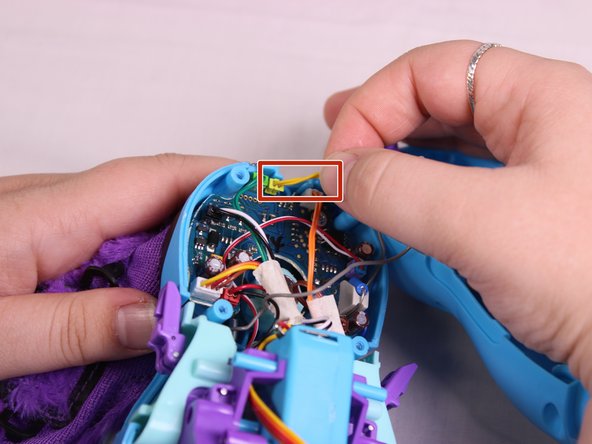
Потяните корпус на себя.

Отсоедините желтый кабель динамика.

Шаг 10

Spin Master Hatchimal Draggle Wheels Replacement: step 10, image 1 of 3Spin Master Hatchimal Draggle Wheels Replacement: step 10, image 2 of 3Spin Master Hatchimal Draggle Wheels Replacement: step 10, image 3 of 3

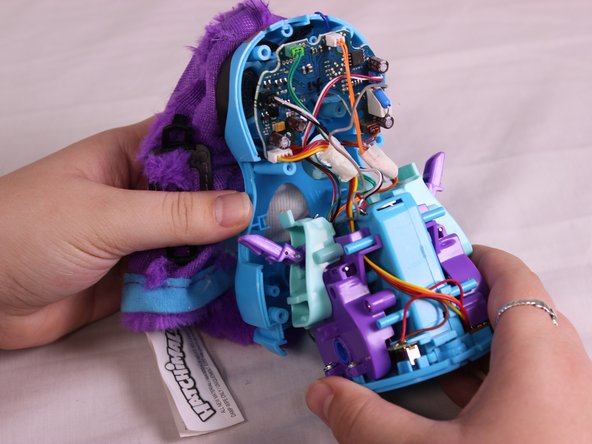
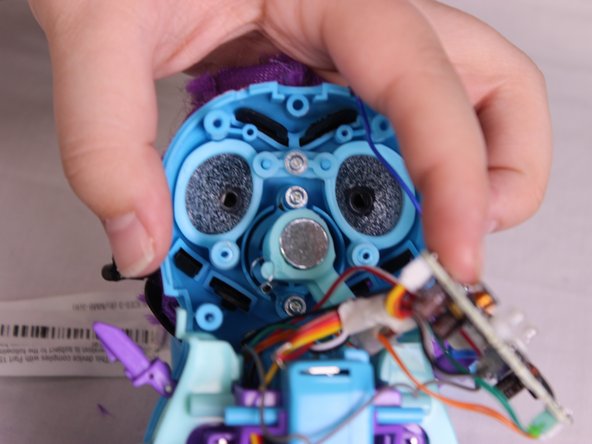
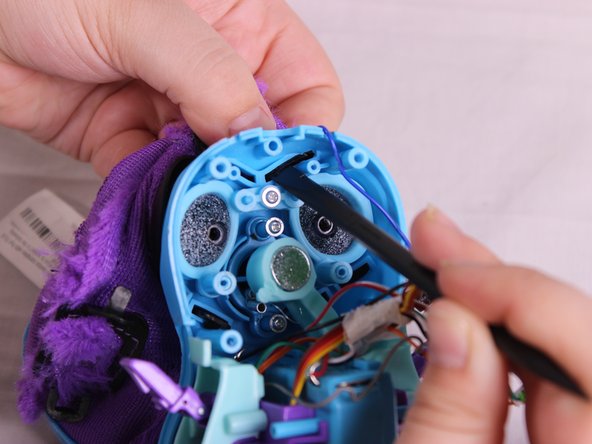
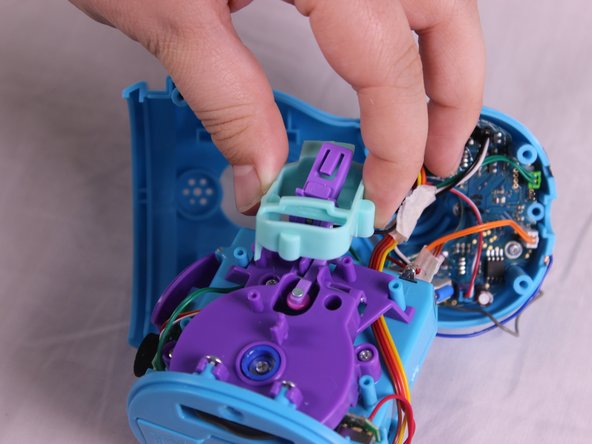
Выкрутите три 7-миллиметровых винта Phillips #00 из головки.

Осторожно, чтобы не повредить пружину, снимите основание колеса и печатную плату.

Шаг 11

Spin Master Hatchimal Draggle Wheels Replacement: step 11, image 1 of 2Spin Master Hatchimal Draggle Wheels Replacement: step 11, image 2 of 2

Вытащите шесть черных меховых клипс с помощью пассатижей.

Полностью удалите мех.

Шаг 12 Замена колеса

Spin Master Hatchimal Draggle Wheels Replacement, Wheel Replacement: step 12, image 1 of 2Spin Master Hatchimal Draggle Wheels Replacement, Wheel Replacement: step 12, image 2 of 2

Поднимите и снимите светло-голубой пластиковый кожух.

Шаг 13

Spin Master Hatchimal Draggle Wheels Replacement: step 13, image 1 of 2Spin Master Hatchimal Draggle Wheels Replacement: step 13, image 2 of 2

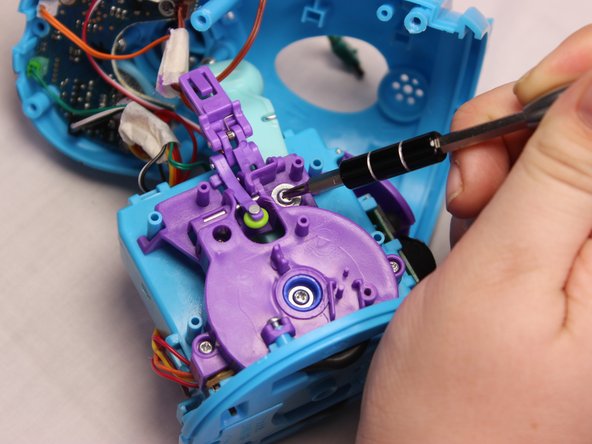
Выкрутите шесть 7-миллиметровых винтов Phillips #00.

Шаг 14

Spin Master Hatchimal Draggle Wheels Replacement: step 14, image 1 of 2Spin Master Hatchimal Draggle Wheels Replacement: step 14, image 2 of 2

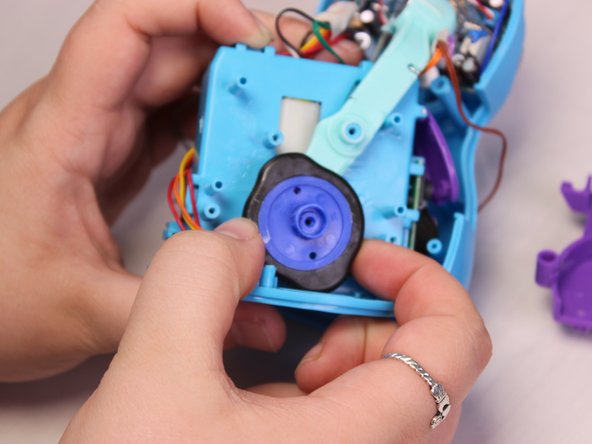
Снимите фиолетовый пластиковый кожух. Он должен сниматься с небольшим сопротивлением.

Снимите колесо.

Комментировать
87 просмотров
Комментариев нет, будьте первым кто его оставит

Это интересно
No Image Гайды
0 комментариев
No Image Гайды
0 комментариев
No Image Гайды
0 комментариев