No Image

Разборка acer aspire one 725

51 просмотров
17 декабря 2023

Шаг 1 Это acer aspire one

acer aspire one 725 Teardown, This is an acer aspire one: step 1, image 1 of 3acer aspire one 725 Teardown, This is an acer aspire one: step 1, image 2 of 3acer aspire one 725 Teardown, This is an acer aspire one: step 1, image 3 of 3

приготовьтесь к тому, что у вас будет много винтов

Шаг 2 Извлеките батарею

acer aspire one 725 Teardown, Remove the battery: step 2, image 1 of 3acer aspire one 725 Teardown, Remove the battery: step 2, image 2 of 3acer aspire one 725 Teardown, Remove the battery: step 2, image 3 of 3

в правом верхнем углу и сдвиньте его вправо.

Это освободить очень легко

Шаг 3 Получение внутри ноутбука

acer aspire one 725 Teardown, Getting inside the laptop: step 3, image 1 of 3acer aspire one 725 Teardown, Getting inside the laptop: step 3, image 2 of 3acer aspire one 725 Teardown, Getting inside the laptop: step 3, image 3 of 3

Там есть винт естественной реакции открутить его

Сдвиньте крышку прямо

Шаг 4 Извлечение плунжера

acer aspire one 725 Teardown, Removing the ram: step 4, image 1 of 3acer aspire one 725 Teardown, Removing the ram: step 4, image 2 of 3acer aspire one 725 Teardown, Removing the ram: step 4, image 3 of 3

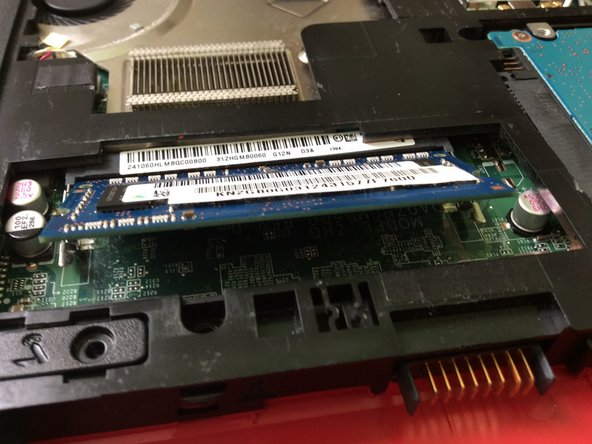
Просто нажмите на эти штифты, и он выйдет.

Вынимать и вставлять его обратно довольно забавно.

Шаг 5 Извлечение жесткого диска

acer aspire one 725 Teardown, Removing the hard drive: step 5, image 1 of 3acer aspire one 725 Teardown, Removing the hard drive: step 5, image 2 of 3acer aspire one 725 Teardown, Removing the hard drive: step 5, image 3 of 3

Открутите больше винтов

Вытащить жесткий диск может быть сложно, поэтому используйте отвертку, чтобы вытолкнуть его.

Шаг 6 Продолжаем извлекать жесткий диск

acer aspire one 725 Teardown, Still removing the hard-drive: step 6, image 1 of 3acer aspire one 725 Teardown, Still removing the hard-drive: step 6, image 2 of 3acer aspire one 725 Teardown, Still removing the hard-drive: step 6, image 3 of 3

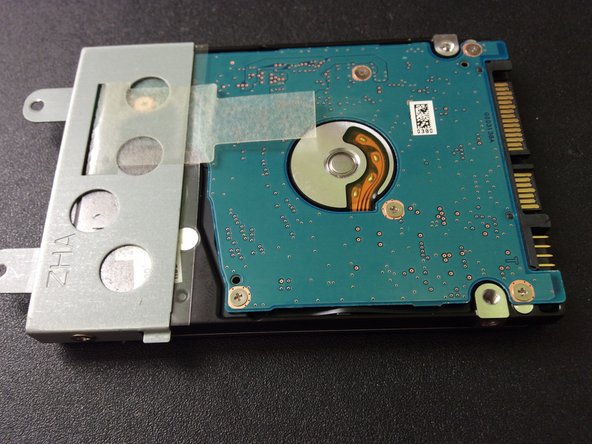
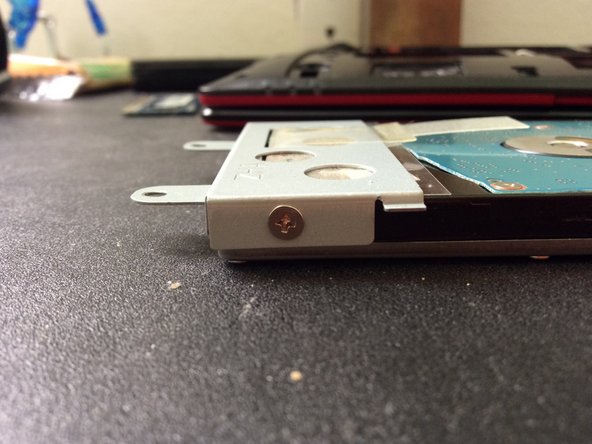
Вот как он должен выглядеть

При желании вы можете заменить жесткий диск, открутив металлическую часть

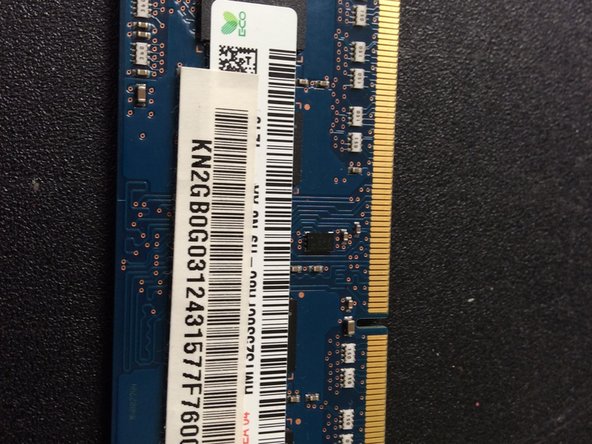
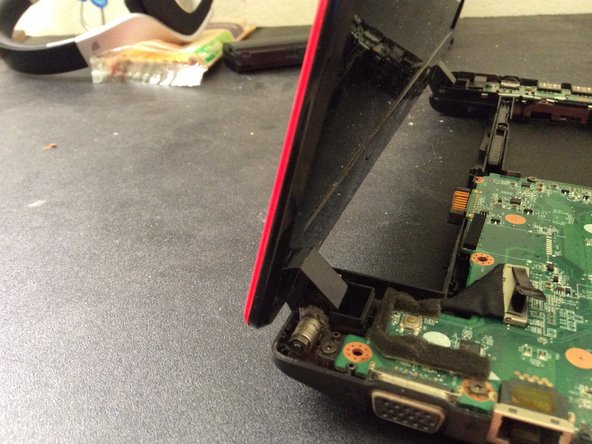
Шаг 7 Просто посмотрите

acer aspire one 725 Teardown, Just a look: step 7, image 1 of 1

чтобы увидеть, как это выглядит

Шаг 8 Перед тем как снять клавиатуру

acer aspire one 725 Teardown, Before removing the keyboard: step 8, image 1 of 2acer aspire one 725 Teardown, Before removing the keyboard: step 8, image 2 of 2

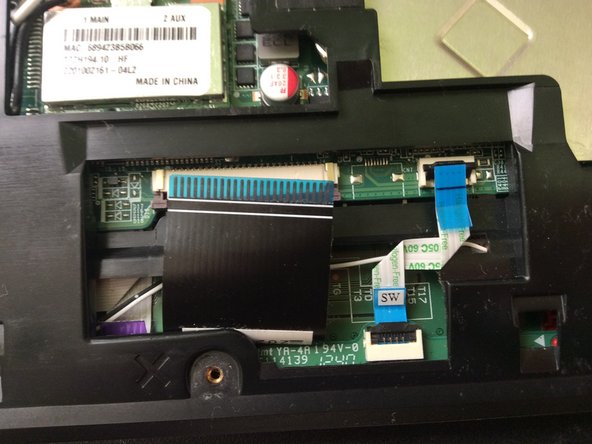
Отсоедините черную и синюю полоски.

Они подключены к клавиатуре

Также открутите все винты, удерживающие панель внизу

Шаг 9 Извлечение клавиатуры

acer aspire one 725 Teardown, Removing the keyboard: step 9, image 1 of 2acer aspire one 725 Teardown, Removing the keyboard: step 9, image 2 of 2

Подденьте ее за место, где находилась батарея

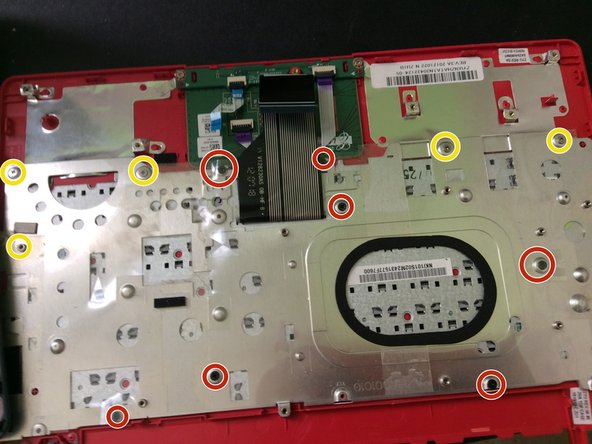
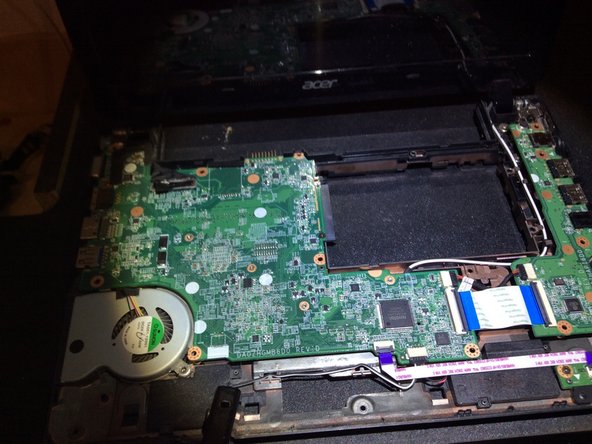
Здесь показана материнская плата

Есть несколько винтов, черных и тонких.

Я пометил черные винты красным. Я обозначил винты желтым.

Шаг 10 Сенсорная панель

acer aspire one 725 Teardown, The touch pad: step 10, image 1 of 3acer aspire one 725 Teardown, The touch pad: step 10, image 2 of 3acer aspire one 725 Teardown, The touch pad: step 10, image 3 of 3

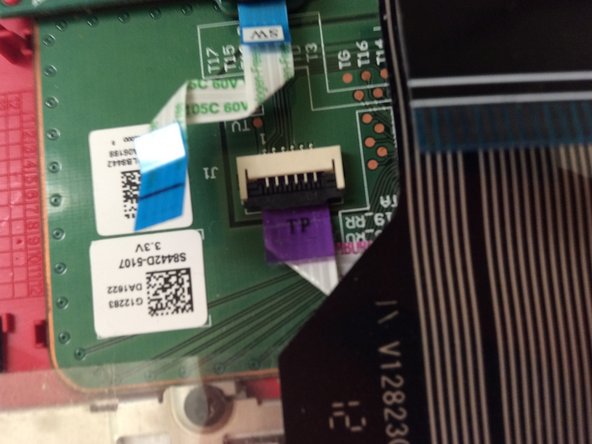
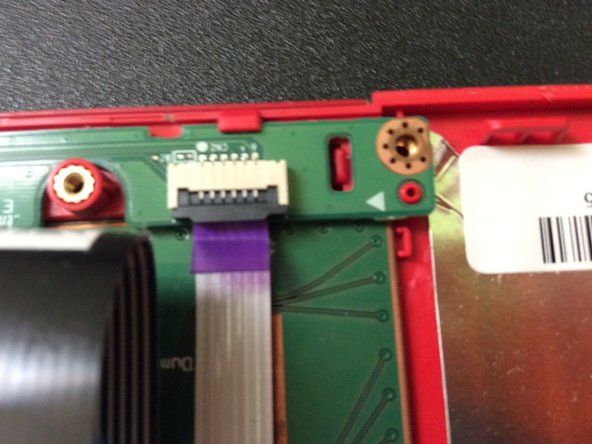
Здесь есть фиолетовая полоска, отсоедините ее.

Снимите панель, к которой подключена сине-фиолетовая полоска.

Шаг 11 Клавиатура отделена
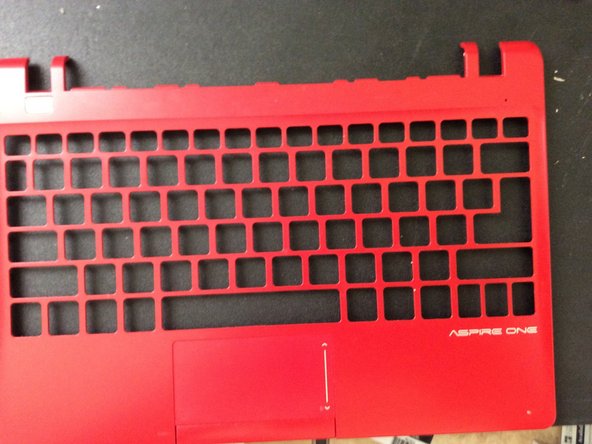
acer aspire one 725 Teardown, The key board separated: step 11, image 1 of 2acer aspire one 725 Teardown, The key board separated: step 11, image 2 of 2

Вид на клавиатуру

Шаг 12 Вот и все.

acer aspire one 725 Teardown, So far we gone: step 12, image 1 of 3acer aspire one 725 Teardown, So far we gone: step 12, image 2 of 3acer aspire one 725 Teardown, So far we gone: step 12, image 3 of 3

Я знаю, что мы не разобрали материнскую плату, но это все.

Я надеюсь, что вы найдете это полезным

Комментировать
51 просмотров
Комментариев нет, будьте первым кто его оставит

Это интересно
No Image Гайды
0 комментариев
No Image Гайды
0 комментариев
No Image Гайды
0 комментариев